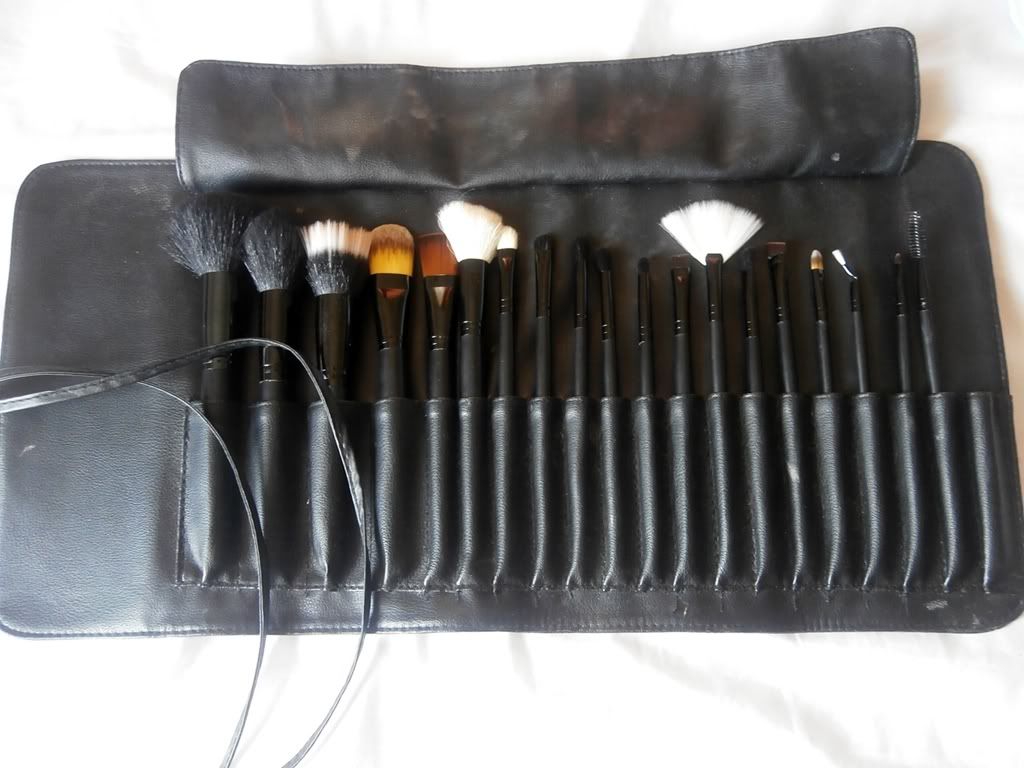
Beauty Cosmetics Pro 20 Brush
(Disclaimer: I only now own 19brushes because I lost the mascara brush. This is not a sponsored post, I paid this with my own money.)
As a makeup artist, you need to have at least 2 brush set in your kit because sometimes work requires you to do more than two person, and although there are brush cleaners that works really well, time should also be your concern. So after doing that brush cleaning in between clients for years, I decided to get another brush set.
I've had my Suesh 28 Professional brush set for years now and the craftmanship of that is so great. But my dilemma is that it can be really costly. (If im not mistaken the 28 brush set is around 3k-4k pesos). Then one of my online friends refer me to Rosenn Gomez, the owner of Beauty Cosmetics, which turns out to be in the same city as I am. So I ordered this brush set from her... and it cost me Php1,400.00.
Beauty Cosmetics Brush Roll
The brush roll is made of thick leather. Upon receiving this item, it have that leather smell which goes away after sometime. The stamped logo looks pretty neat too.
Beauty Cosmetics Pro 20 Face Brushes
(T-B: Round Powder Brush, Tapered Powder Brush, Stippling Brush, Angled Blush Brush)
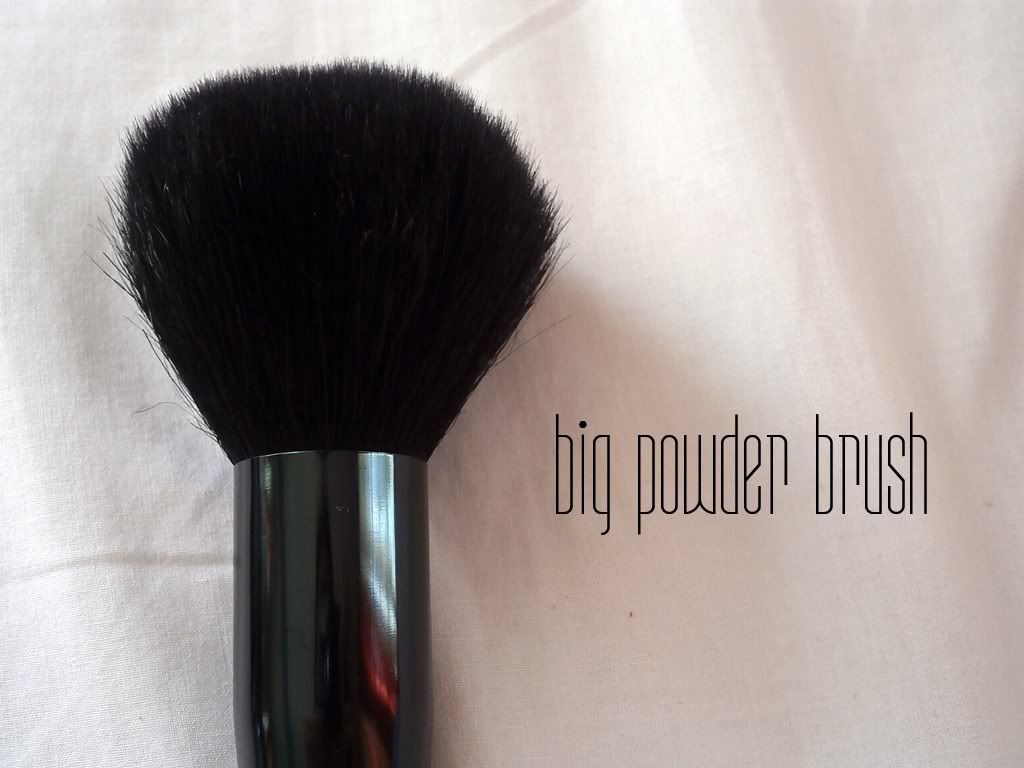
Round Powder Brush
The big powder brush is a dense brush for (duh) powder. I use this to sweep of excess powder in face. This is not ideal for pressed powder or for patting on powder because it's too big for that. It also have a smell that doesnt go away until my 5th or 6th wash, but it goes away after that.
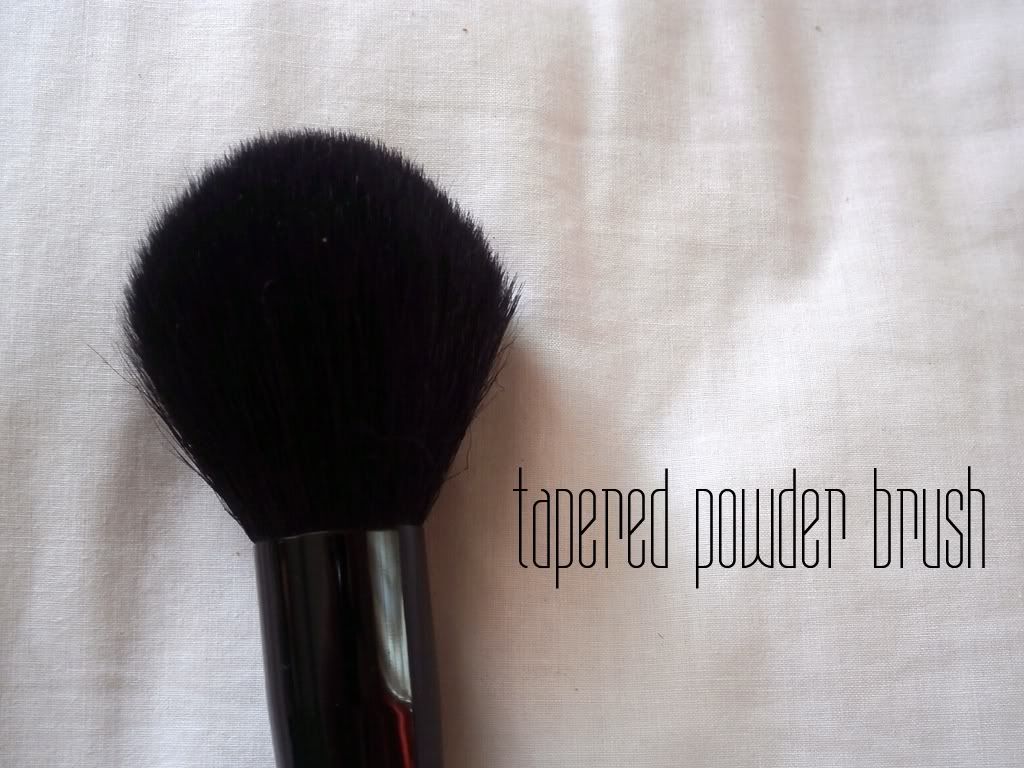
Tapered Powder Brush
The tapered powder brush is one of my favorite. It's a versatile brush that I use for almost anything I can think of. I mostly use this for sweeping powders since it does a nice job getting into small areas. One of my favorite use of this brush is with highlights. The tapered parts are best for that, like blushes too. The handle of this brush seems a little bit shorter than the other, and that what makes it perfect for bringing along.
It's dense enough and not scratchy at all.
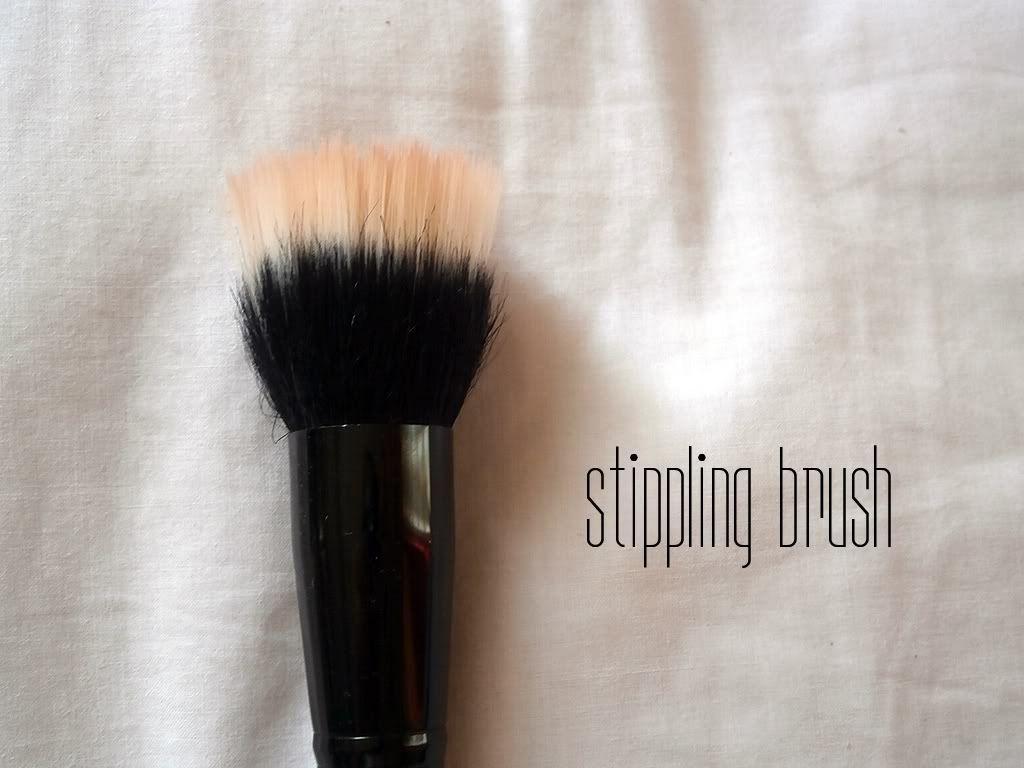
Stippling Brush
The stippling brush is used for a light application of powder or liquid products. It is ideal for blushes and foundation for that "airbrush" effect. Which I never achieved no matter what, but what I love about stippling brush is it's so soft and light on the face. I love it for blending foundation and using on powder blushes. This stippling brush is not as dense as my Suesh or as soft as the Suesh is. But this doesnt shed unlike the other.
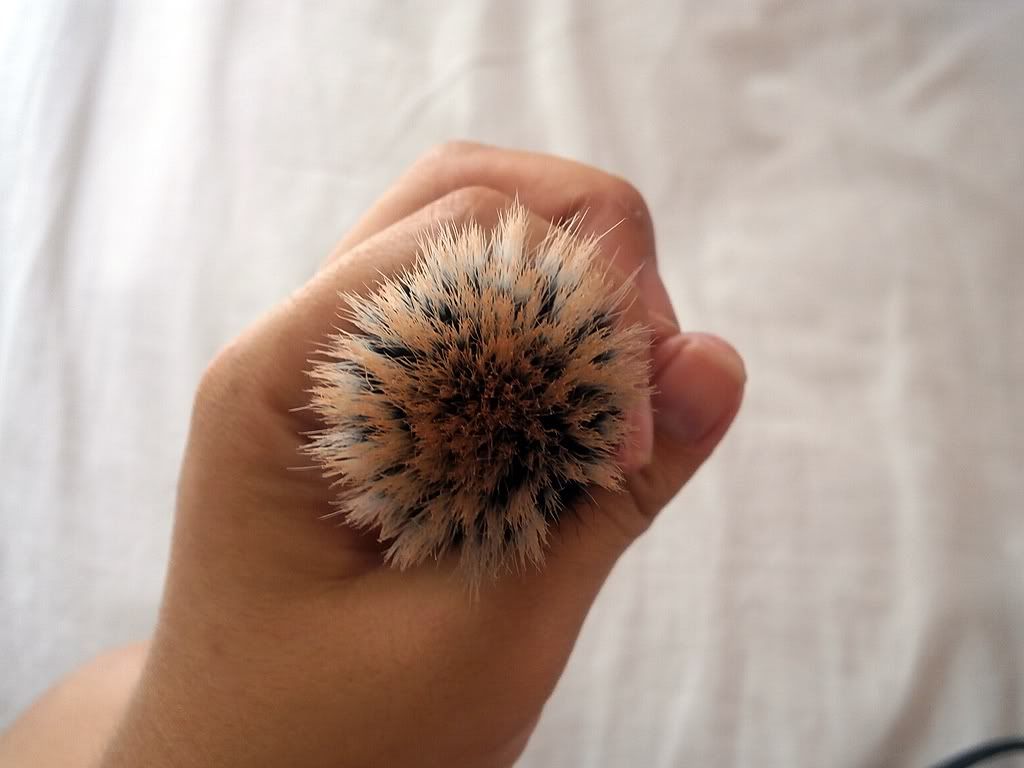
Density of the stippling brush
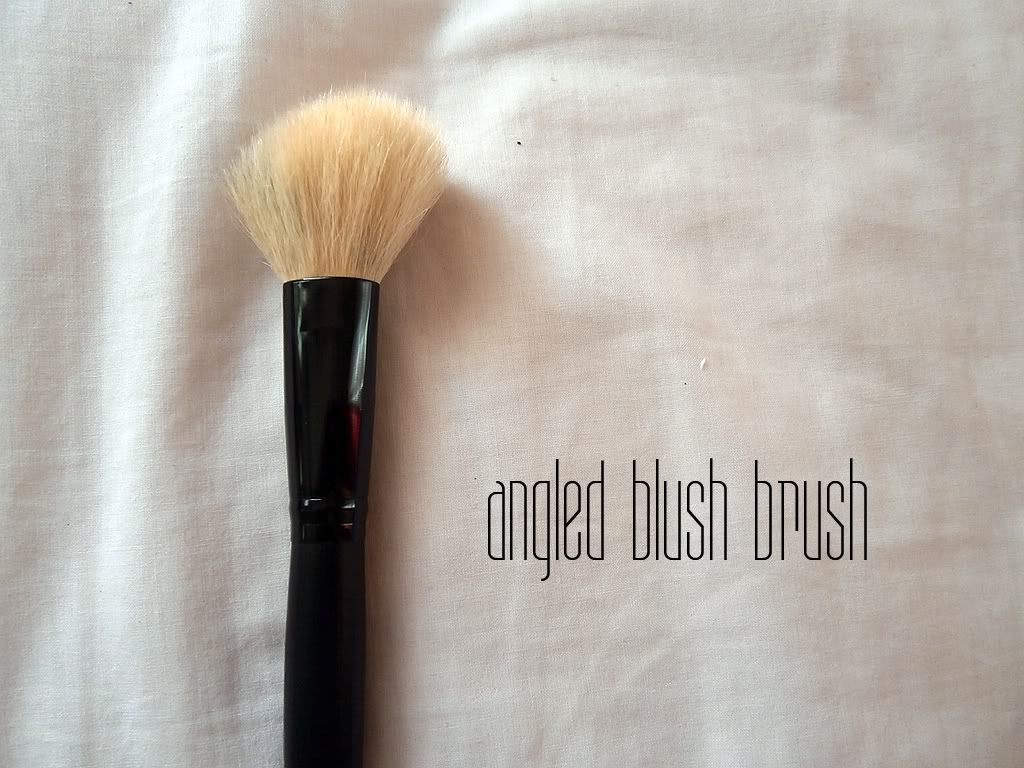
Angled blush brush
The angled blush brush is use for precise application of blush and for contouring because of its slanted side that hugs the shape of the face. It is ideal for contouring beginners. What I like about this is the length of the bristles in perfect! It's not flimsy. Although if you do not use a conditioner on this it becomes a lit`tle scratchy.
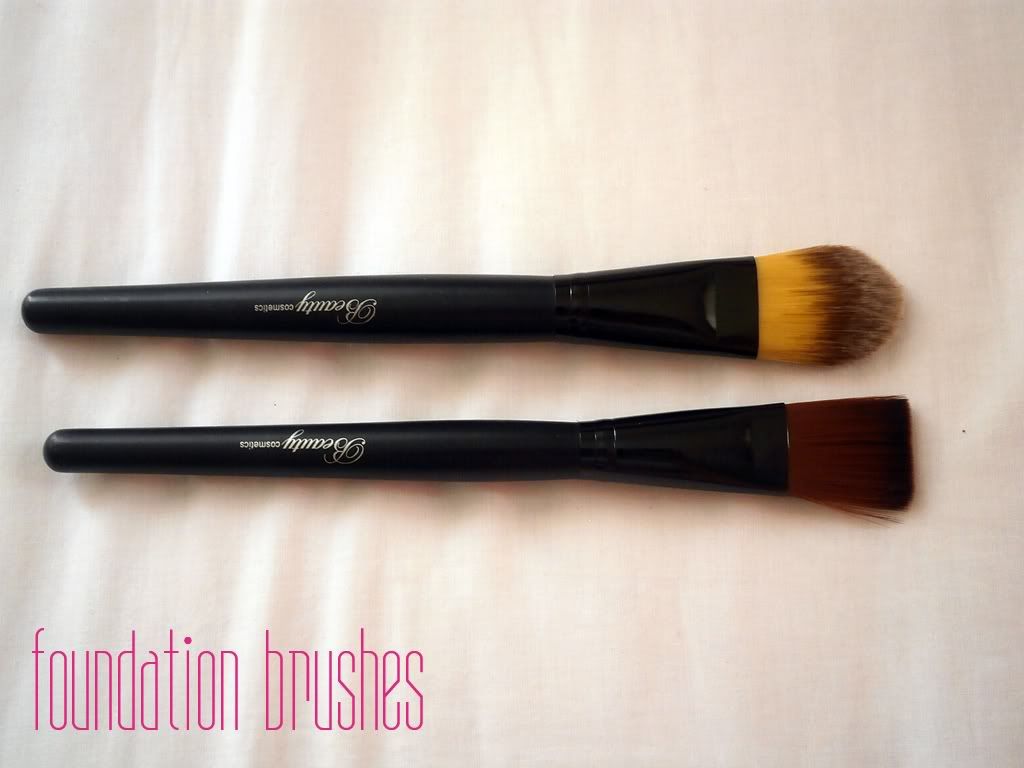
Beauty Cosmetics Pro 20 Synthetic face brushes.
(T-B: Paddle Foundation brush, Square Foundation brush
not in the photo: concealer brush)
Precise Concealer brush
This concealer brush is used for precise concealing and for hard to reach areas in the face like the side of the nose. It's easy to clean and the length of the bristle is good for a concealer brush although I wish it's a bit bigger (width) so it will cover more area.
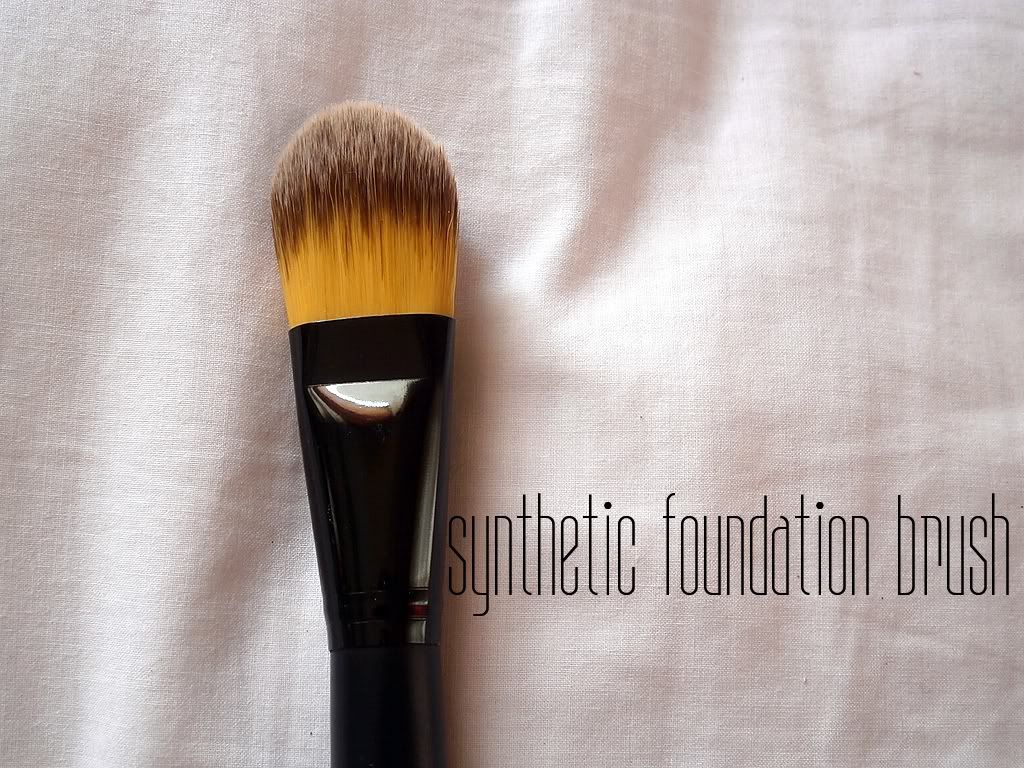
Paddle Foundation brush
I LOVE THIS BRUSH! Seriously, one of the brushes I dearly cling to. Its size, its width, the density of this brush is PERFECT. I makes putting liquid foundation on very very fast. I love using it with primer too. It's so soft, not flimsy! It is easy to wash too.
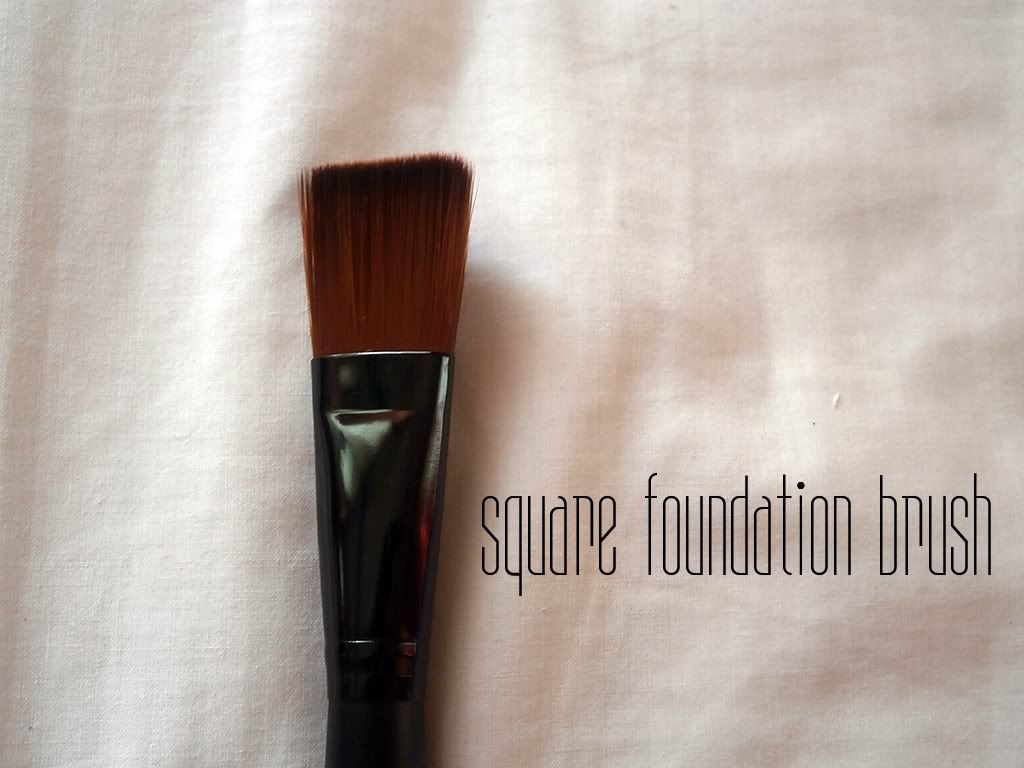
Square Foundation brush
This is something new, and something I never have in my kit. I used to see a MAC version of this but doesnt have the need to buy one since I think the paddle brush works well. This is good for blending contouring cremes into skin although it can be streaky. Not necessarily a need but something nice to have.
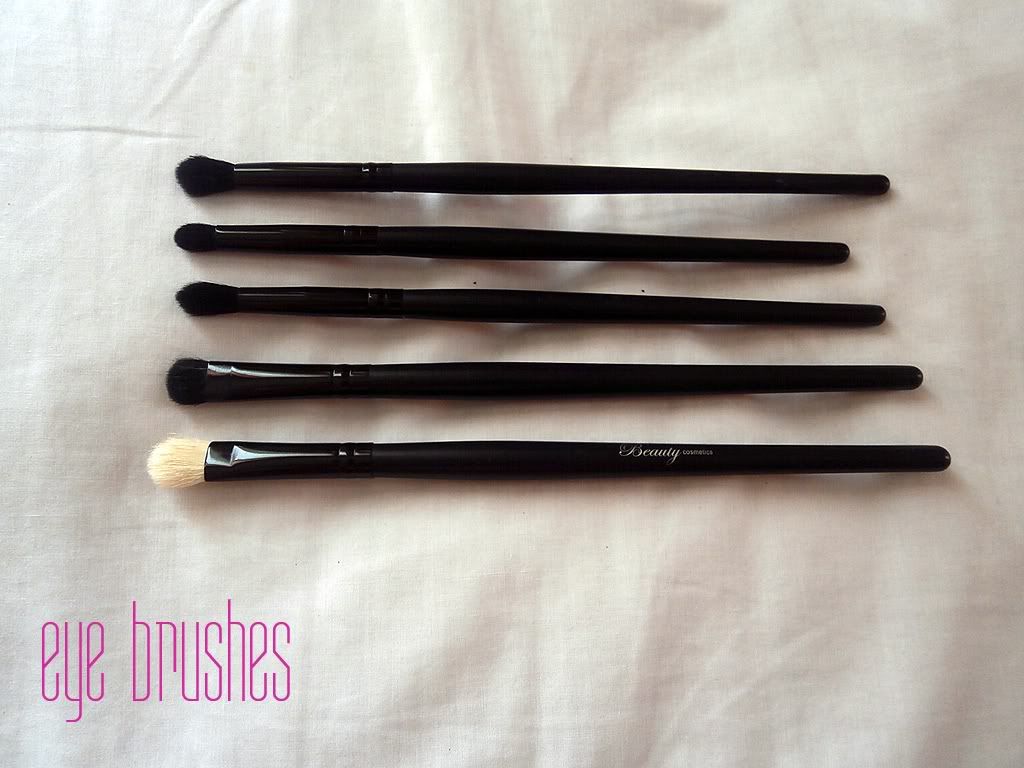
Beauty Cosmetics PRO 20 Eye brushes
(B-T: Big Eyeshadow Brush, Lid brush, Blending brushes)
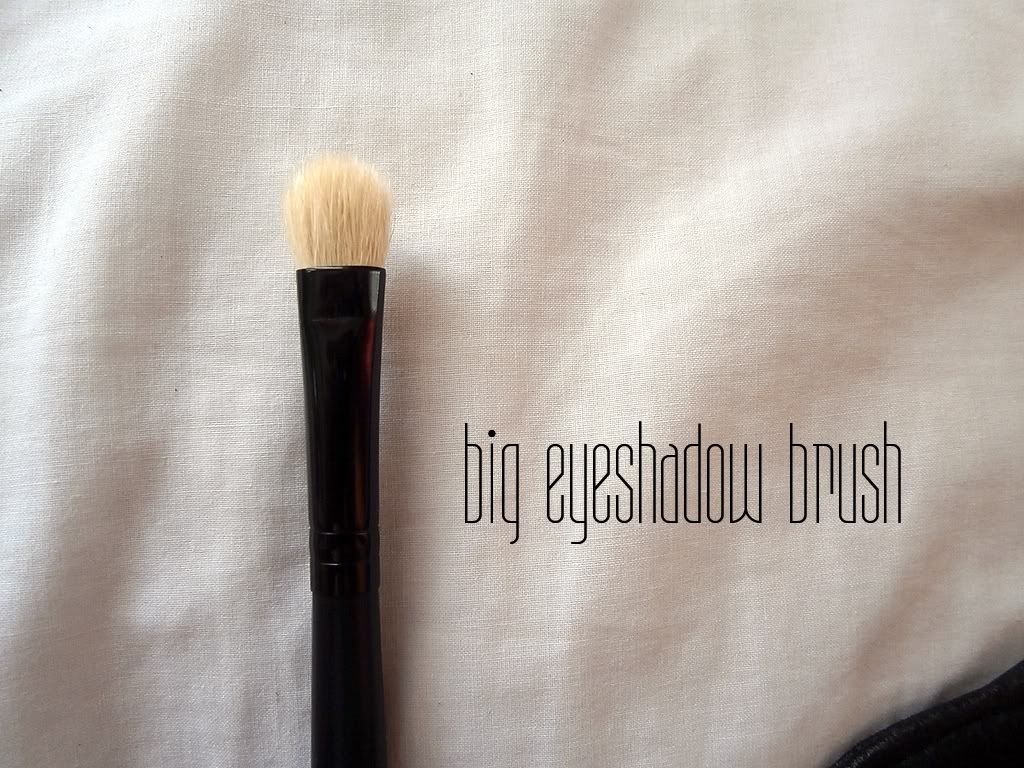
Big Eyeshadow brush
First on the eye brushes is the big eyeshadow brush. On the promotional photo from Beauty Cosmetics' website I though it's a dupe for my beloved MAC 239 but when I saw it personally, it's really big. This is perfect when you're in a rush and just need a wash of color in your eyes. The negative about this is it's scratchy. :( I tried to remedy it with using a conditioner like what I did to the face brushes but it remained that way. I kept this in my personal brushes because im too scared to use it for client.
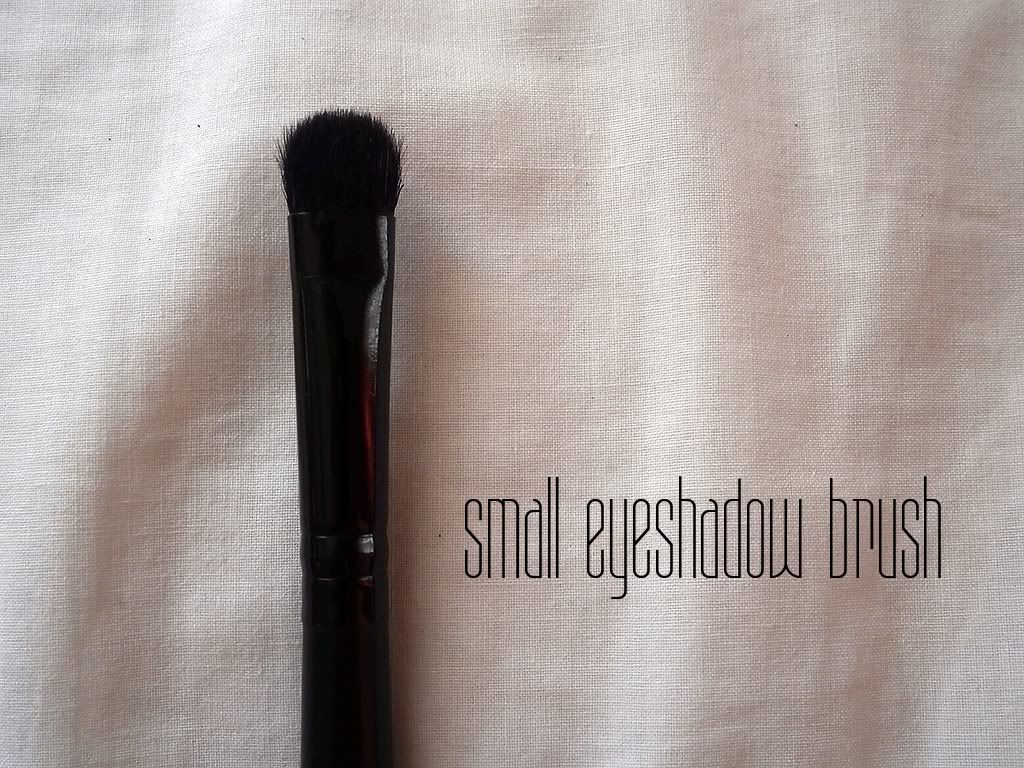
Small eyeshadow brush
I really dont want negativity through my reviews but you need to be honest so that people will trust you, so im gonna say this ... It's probably the worst eyeshadow brush that existed. I wish this isnt scratchy because size-wise, dense-wise, this is the dupe of MAC 239. The size is perfect for lid color. But it hurts so bad that I have to stop using it. :( Im not sure if I'm the only one who got a bad batch of this, I hope so. because I would love people to love this and experience the same joy I have with mac 239 in a way lesser price.
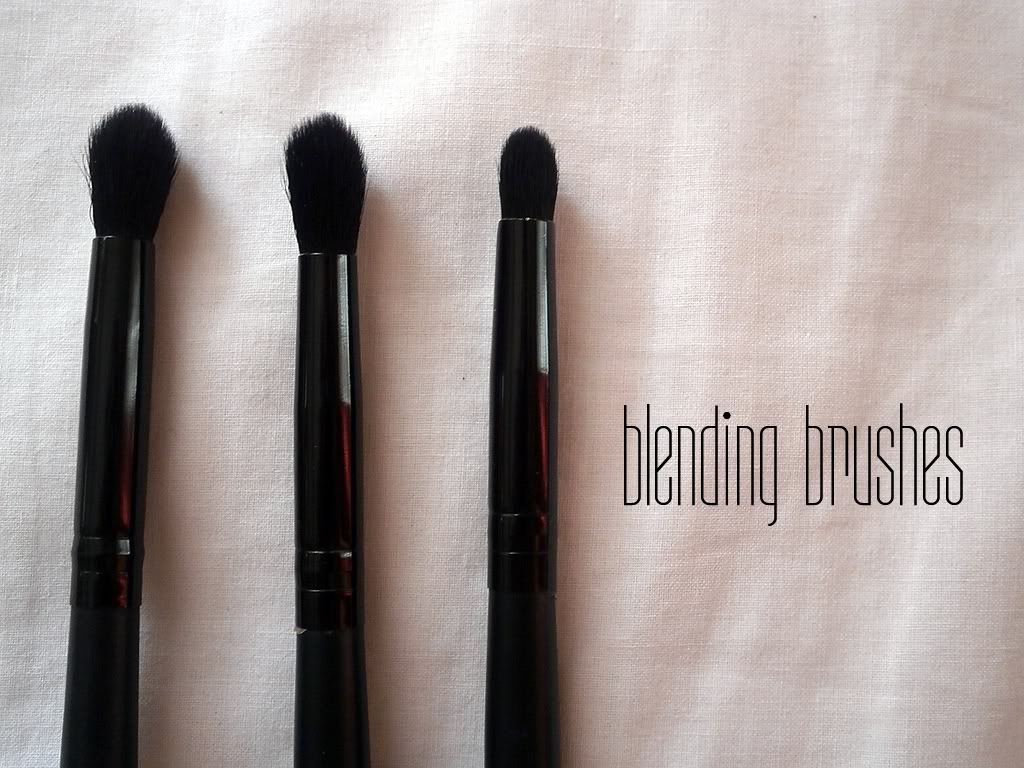
Blending brushes
And then, there are the blending brushes. Forget the negativity about the two lid brush, embrace this blending brushes. THIS IS THE BEST. This actually made me buy them, because of the blending brushes. A good eyemakeup isnt good at all without the cleanness of the blending/transition of colors. And this does the job so so well.
First blending brush: This is tapered blending brush. I love using it on my crease to put a crease color.
Second blending brush: This is the domed blending brush which is for doing a smokey eyes.
Third blending brush. Some bloggers refer to this as a pencil/bullet brush but I treat it as my detailed blending brush. This makes doing the "outer v" corner so good. It's actually as good as MAC 219! I always reach out for this than that.
PS: Did I tell you I love this??? :))
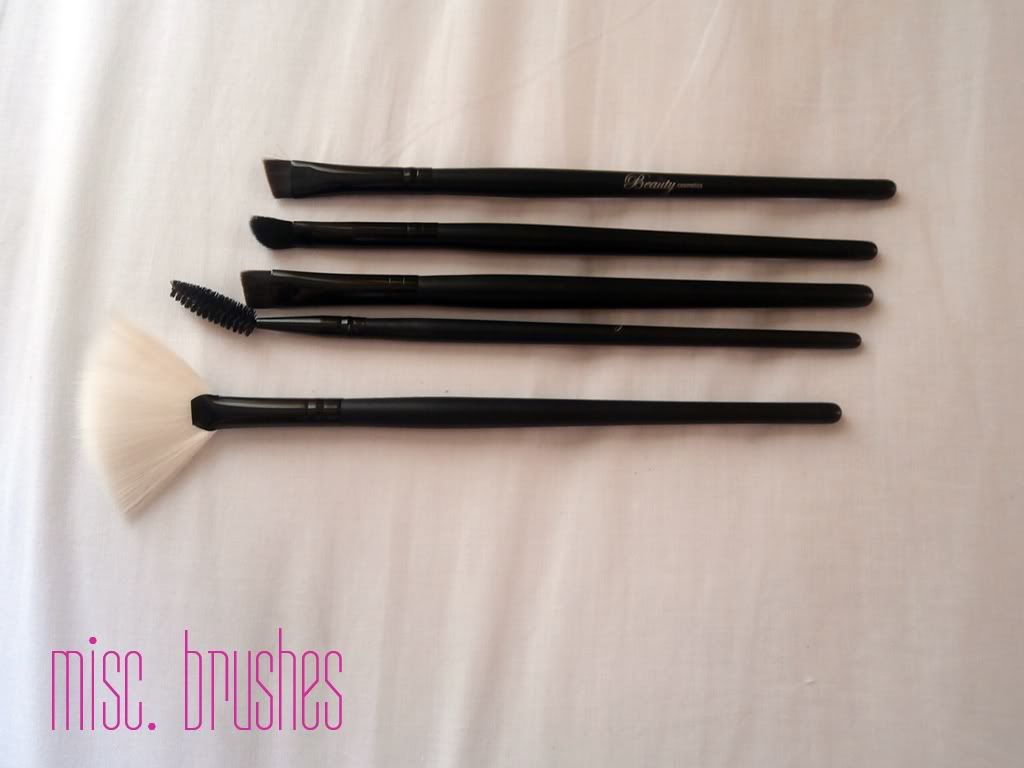
Misc. brushes
(T-B: Brow Brush, Small angled brush, Definer brush, Fan Brush,
not in the photo: lip brush and mascara/small fan brush)
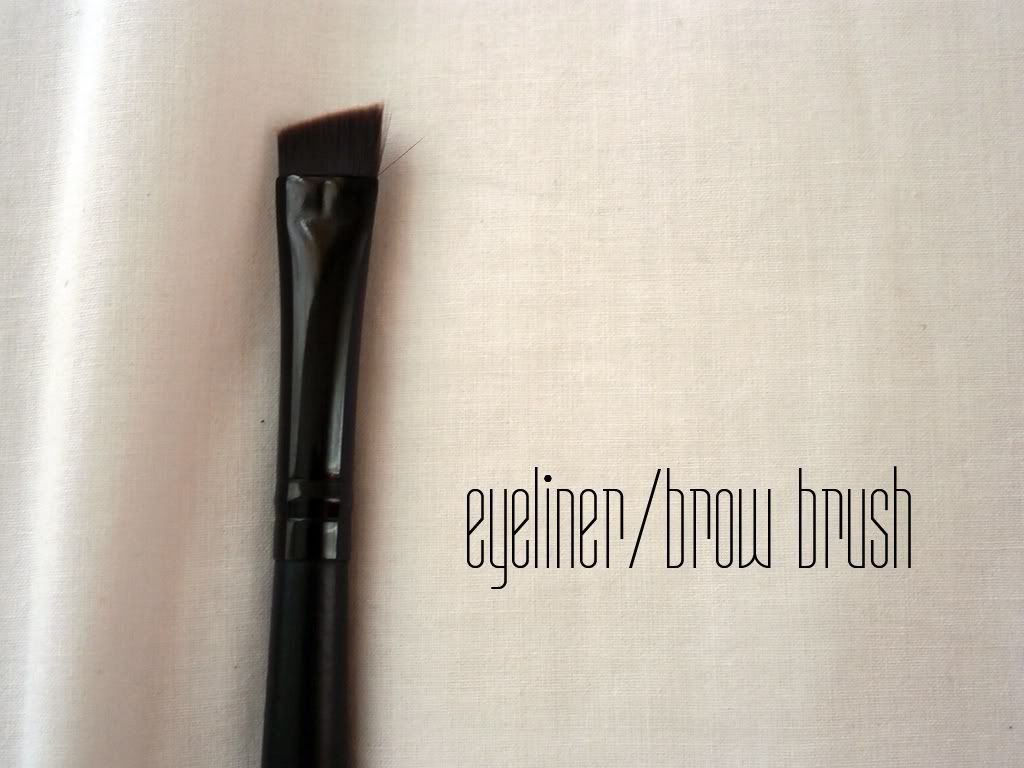
Eyeliner/Brow Brush
Used to groom the brows or to put eyeliner on. But for me it's too big, and too dense to be used as any of the both. I used this though when creating a "winged" eye look.
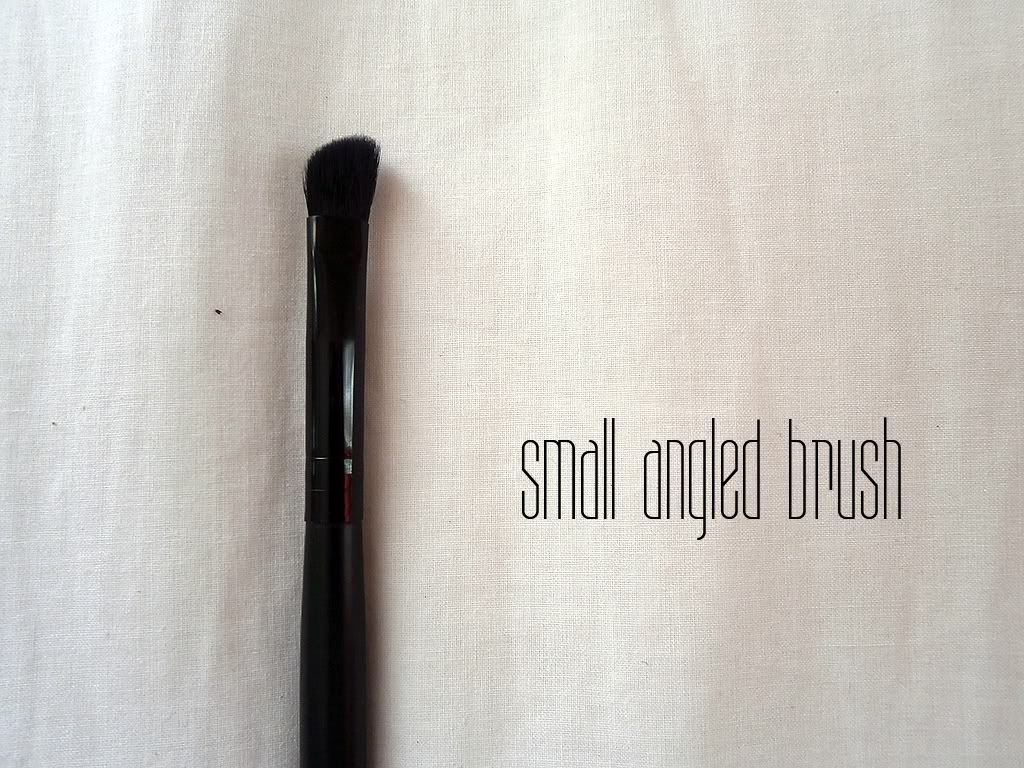
Small angled brush
Another favorite! You can use this as a crease brush or as I use it, a nose contouring tool! I love that it's small, it can do a precise contouring at the bridge of the nose without messing the "highlight" part. It's not scratcy and it's the perfect size.
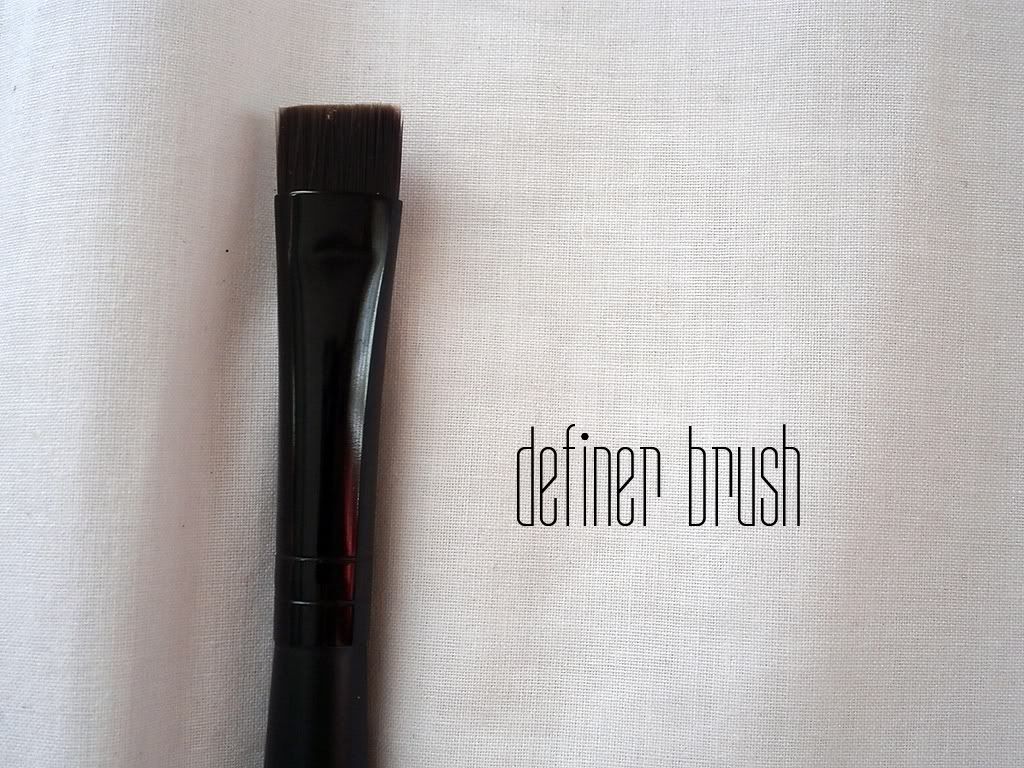
Definer brush
Seriously, what does this do? :)) I have no idea but sometimes I use this to "conceal" the lip area since it's too think to be an eyeliner brush.
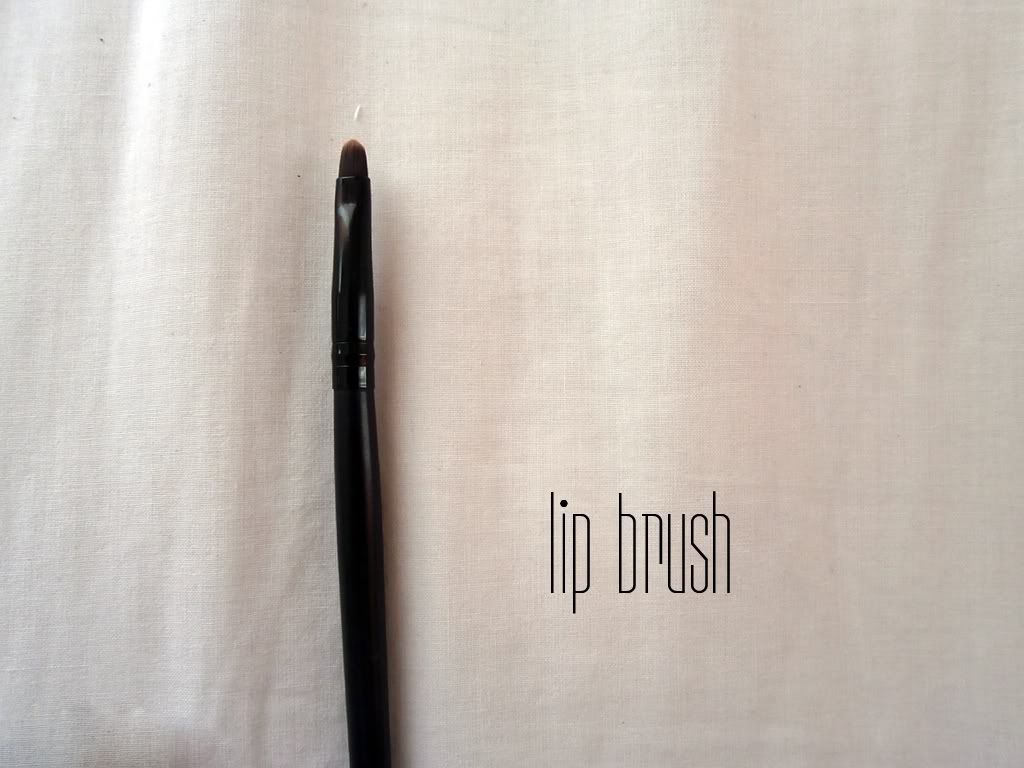
Lip Brush
I use this for putting lipstick on .. but then I found another way to use it, and ever since I never used it as a lip brush --- an Eyeliner brush! It's the best one out there to do so. The stiffness and the length is great for lining the eyes.
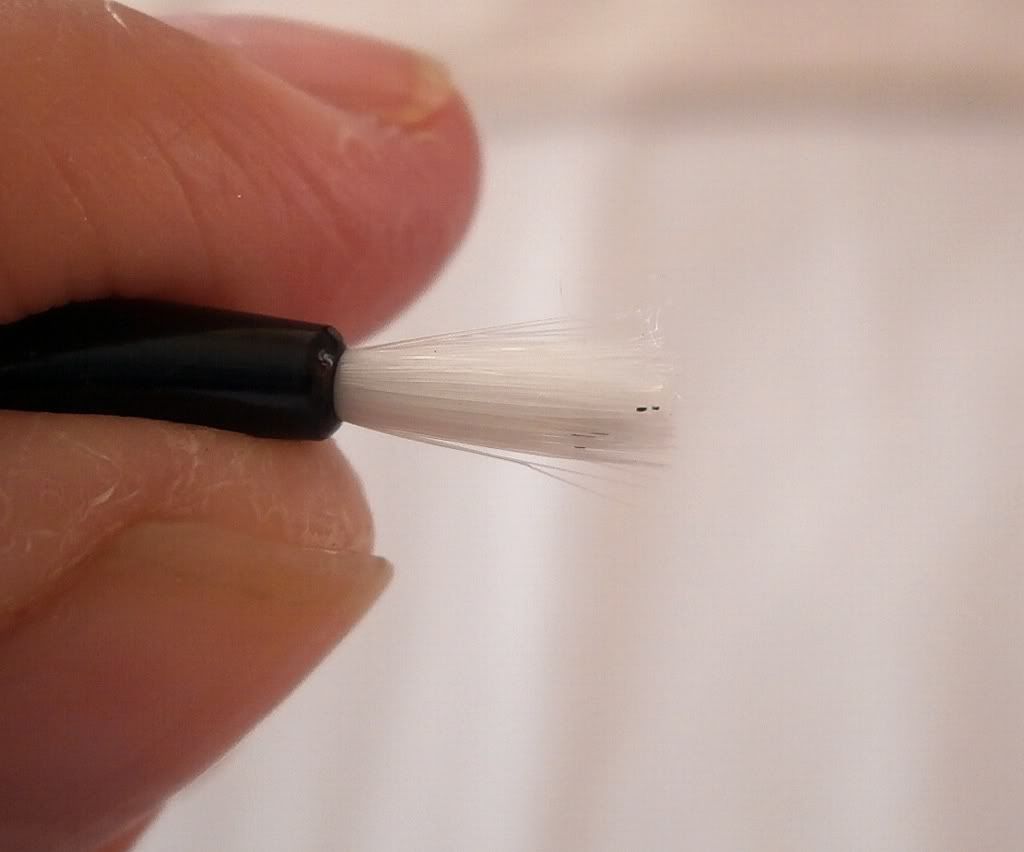
Bent Eyeliner Brush
I was excited to use this one because it reminds me of my old Coastal Scents bent liner brush that I lost during one of my gigs a few years ago. But then it disappoints me because the hair is all-over the place. and it's too dense to be used as an eyeliner brush. Although on the website, they said you have to wet the tips to have a more precise lining and I will test it out in a couple of days, so ill probably edit this.
details of the bent-liner brush
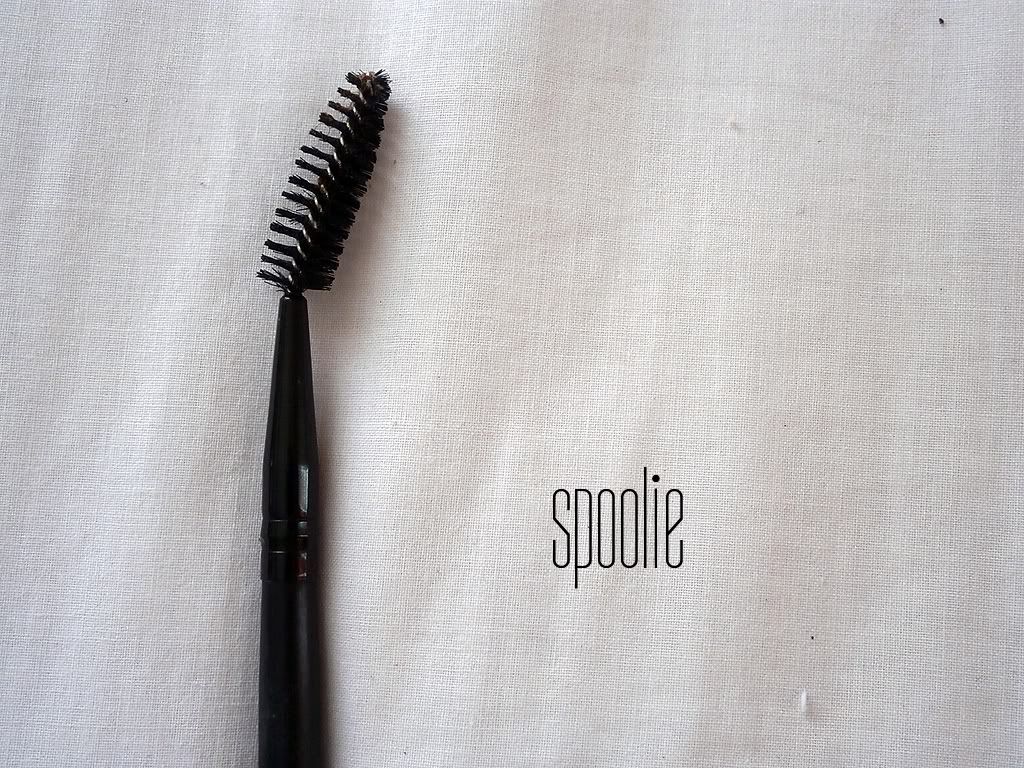
Spoolie Brush
It does what it do, brush the brows upwards and removes clumps from your mascara!
Fan Brush
I love using fan brush as blush brush or bronzer blush (haha if there's such thing) but this one I find too flimsy.
In conclusion:
I give this brush set a 3.5 out 5 stars.
GOOD:
-Packaging wise is good, good leather brush roll.
- Inexpensive for Php1,400.00
-Perfect for new makeup artist
- Seller is really really nice.
BAD:
- Out of 20, you get 7 brushes that can be no use to you. Especially if you still dont have a separate brow brush.
- At first it have a smell that you wont like, but it goes away after a few washes.
That's it really. I think it's still a pretty good buy especially when you try those blending brushes. haha. (I really love them, obviously!)
Buy them at: